
The Clay & Glaze Notebook shares practical, down-to-earth guidance on pottery, ceramics and clay crafts for uk makers for readers across the UK.
- 0123456789
- Angle Bd Abdelmoumen & rue soumaya, Résidence
- [email protected]
The Clay & Glaze Notebook shares practical, down-to-earth guidance on pottery, ceramics and clay crafts for uk makers for readers across the UK.
 By Oliver Pemberton
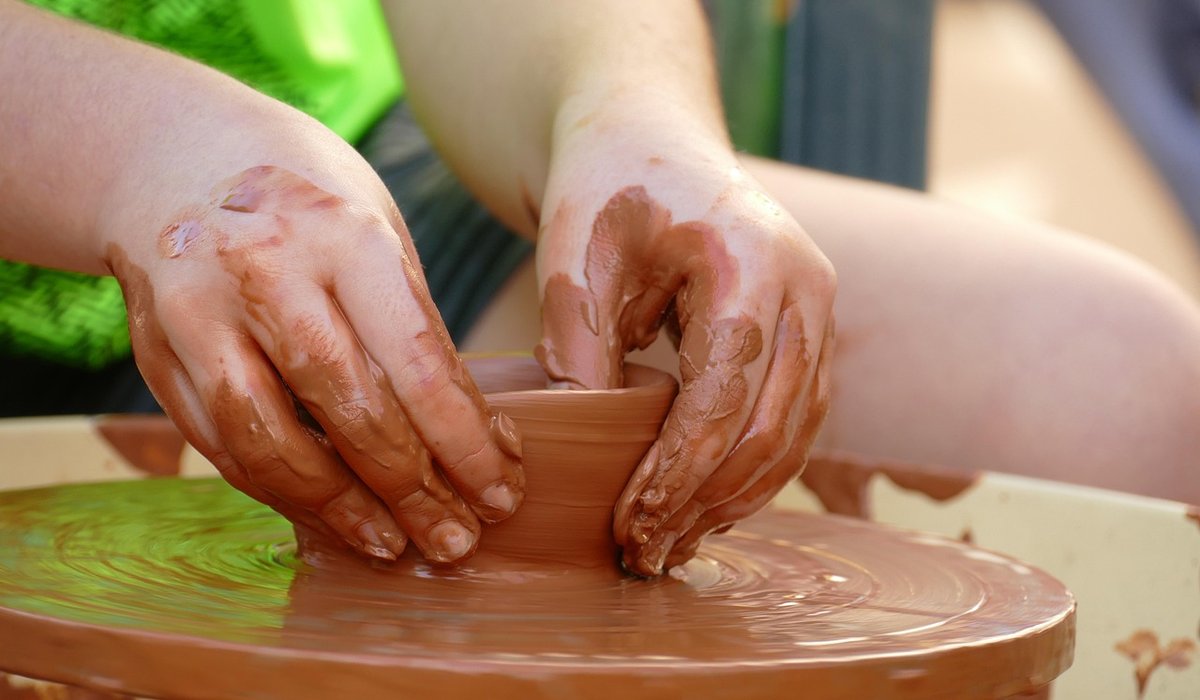
Coil building is the most forgiving way to make a plant pot. You can build as tall and as wide as you like without a wheel, and stop whenever the clay needs to firm up. The catch is that the pot is only as strong as its joins. A plant pot carries weight constantly — damp compost is heavy — and it gets lifted and shifted far more than a decorative vessel ever is. Press one coil onto another and carry on regardless, and you will get a hairline crack as it dries, or a split the first time it is watered in.
There is no magic to a strong join. Score, slip and blend, at every single coil.
Work with clay at a soft-but-not-sticky consistency. If a coil wraps around your finger without cracking, it is a little dry; if it smears like butter, it is too wet. In a UK winter, a cold garage or unheated studio makes clay behave very differently from a humid summer day, so let it come to room temperature before you begin.
Roll or press a base slab 8–10mm thick. Plant pots sit outside through wet winters, so a thin base will not survive being moved with soil in it. Compress the slab with a rib in overlapping strokes from the centre outwards — this tightens the clay and cuts the chance of the base cracking or dropping. Sit it on a bat over a sheet of newspaper so you can move it later.
Score the whole top surface, right to the edge, and paint on slip. Let it go tacky rather than wet before the first coil goes down. Too wet and the coil slides; too dry and the join is only cosmetic.
Roll a coil with a flat hand, working from the middle outwards, until it is an even thickness. Sit it on the slipped edge and join the ends neatly — a butt joint or an angled lap, never a blunt seam sitting where the pot will flex.
Then comes the part that decides whether the pot lasts:
Cover the pot with a plastic bag as soon as a section is finished. Slow drying keeps the joins from shrinking faster than the wall around them.
Build in stages. Add three or four coils, blend them, then wrap the pot overnight until the wall holds its shape when pressed gently. Building a whole pot in one go usually means the lower coils are too soft to carry what sits above them, and the wall bulges or the seams stretch. If you want to keep going, work in one continuous spiral rather than stacked rings — there are fewer horizontal seams to fail.
When the pot reaches the height you want — 15–20cm suits herbs and small shrubs — give it a final compression pass and tidy the rim. Pinch it gently to thicken and round it, which also stops chipping when the pot is lifted.
Cut the drainage hole while the clay is leather-hard, not bone dry. One 10mm hole, or three of 6mm, is plenty at this size; work from both sides so you do not push a burr through the base. A shallow foot ring, scored and slipped like any other join, lifts the pot clear of a wet saucer.
Dry slowly, wrapped in plastic for the first few days and opened a little each day, then unwrapped somewhere out of draughts and direct sun. Rush it and the joins you blended so carefully will open up. Fire to stoneware maturity, with a glaze inside if the pot lives outdoors. Before planting anything you care about, fill the finished pot with dry compost, tamp it down firmly and water from the top. If it takes that without a creak, the joins are sound.


We are not gonna make spamming
