
The Clay & Glaze Notebook shares practical, down-to-earth guidance on pottery, ceramics and clay crafts for uk makers for readers across the UK.
- 0123456789
- Angle Bd Abdelmoumen & rue soumaya, Résidence
- [email protected]
The Clay & Glaze Notebook shares practical, down-to-earth guidance on pottery, ceramics and clay crafts for uk makers for readers across the UK.
 By Thomas Ashcroft
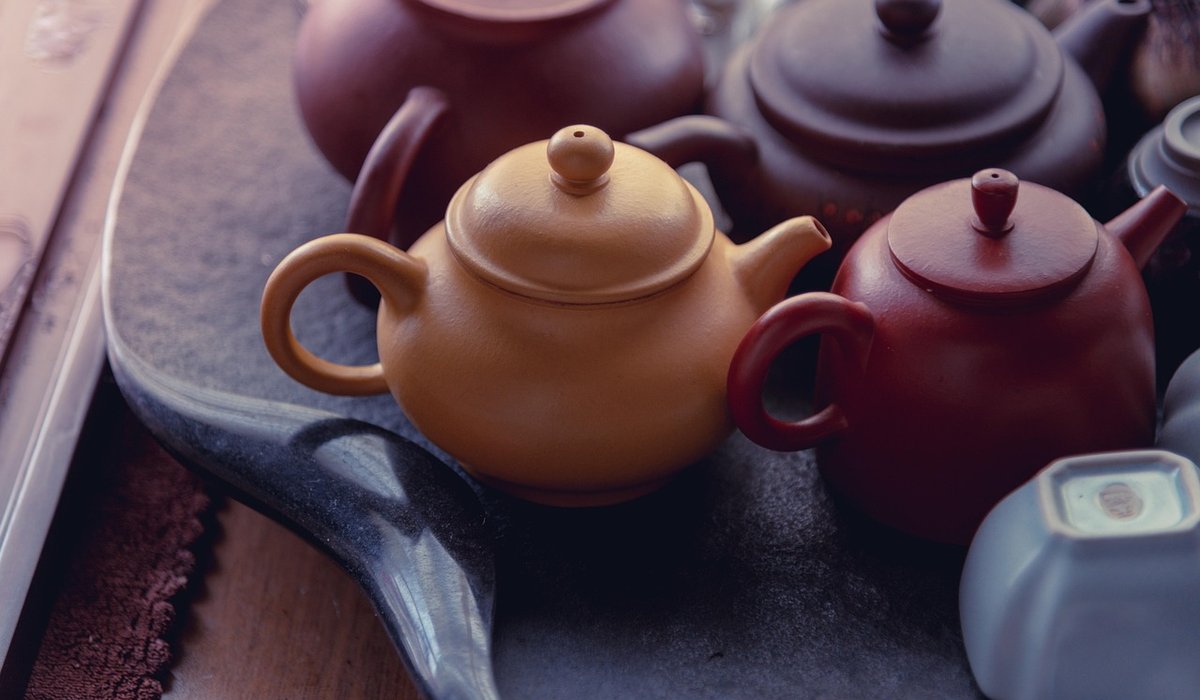
There are few things more deflating than opening the kiln after a glaze firing to find a once-promising bowl freckled with pinholes, or wearing a glaze that has retreated from the rim like a nervous hedgehog. The good news is that most of these faults are not random acts of kiln malice. They are predictable, repeatable and, in the overwhelming majority of cases, entirely fixable.
Pinholes and crawling belong to the same family of problems: the glaze surface is being disrupted while it is molten. With pinholes, gas is pushing up through the glaze from below. With crawling, the glaze is pulling back on itself and exposing bare clay. Working out which one you are dealing with — and at what stage of the process it began — is more than half the battle.
A pinhole is a small crater in the fired surface, often with a tiny bubble or a speck of clay at the bottom. It forms because gas is still being released after the glaze has begun to melt and seal over the surface. The glaze heals around the bubble, but the bubble bursts and leaves a scar.
The usual suspects are worth checking in this order:
If your pinholes cluster in one area of a pot, suspect uneven glaze thickness. If they appear across everything in the kiln, look at your bisque firing first.
For most stoneware bodies, a bisque to around 1000–1050°C with a soak of twenty to thirty minutes at the top will burn out the carbon and sulphur that cause pinholes. Ramp slowly — roughly 100–150°C per hour — between 800°C and 1000°C, where most of the troublesome burnout occurs.
Ventilation is just as important as temperature. Leave the bungs out, or prop the lid a couple of centimetres, until at least 600°C so that combustion gases can escape rather than recirculate. A kiln that is packed too tightly will also fire unevenly, leaving some pots under-bisqued while others are perfectly done.
If you bisque to 1100°C or above, the clay becomes less porous and glaze adhesion suffers, which brings us neatly to crawling.
Most dipping glazes behave best at a specific gravity of roughly 1.40 to 1.45, which you can check with a hydrometer from any brewing supplier. Thinner than that and you will need multiple dips; thicker and you will get drips, pinholes and crawling.
Always sieve your glaze — an 80-mesh sieve is a sensible default — and stir it thoroughly before each use. Glaze settles, and the heavy materials sink first. If your glaze forms a hard pan at the bottom of the bucket, add a few drops of saturated Epsom salt solution to flocculate it and keep the particles in suspension.
For dipping, a three to five second immersion is usually about right, with a steady withdrawal. Wipe the foot ring with a damp sponge rather than your fingers: skin oils are a surprisingly common cause of glaze defects.
Crawling looks like the glaze has been shrunk in the wash. It beads up into islands, leaving bald patches of clay between them. The mechanism is simple: the glaze shrinks more than the clay beneath it during firing, or it never properly wets the surface in the first place.
Slow the first part of your glaze firing to around 100°C per hour up to 900°C, and crawl will become a rarity in your studio.
A soak at the top of your glaze firing — ten to twenty minutes at peak temperature — gives bubbles time to rise and the glaze time to level. If pinholes persist, try the drop-and-hold technique: after reaching peak, drop the kiln 30–60°C and hold for twenty to thirty minutes. This keeps the glaze fluid enough to heal while reducing further gas production from the clay.
Be careful not to over-soak. Too much heatwork can cause glazes to run, turn cloudy or develop an unwanted matt surface through devitrification.
Finally, keep a proper firing notebook. Record the clay body, bisque temperature and soak, glaze specific gravity, dip time and the full firing schedule, plus a sketch of where each pot sat in the kiln. Change one variable at a time and fire test tiles alongside your work. Within two or three firings you will have a reliable set of numbers that suits your kiln, your clay and your glazes — and pinholes and crawling will be a story you tell about the old days.


We are not gonna make spamming
