
The Clay & Glaze Notebook shares practical, down-to-earth guidance on pottery, ceramics and clay crafts for uk makers for readers across the UK.
- 0123456789
- Angle Bd Abdelmoumen & rue soumaya, Résidence
- [email protected]
The Clay & Glaze Notebook shares practical, down-to-earth guidance on pottery, ceramics and clay crafts for uk makers for readers across the UK.
 By Harriet Kingsley
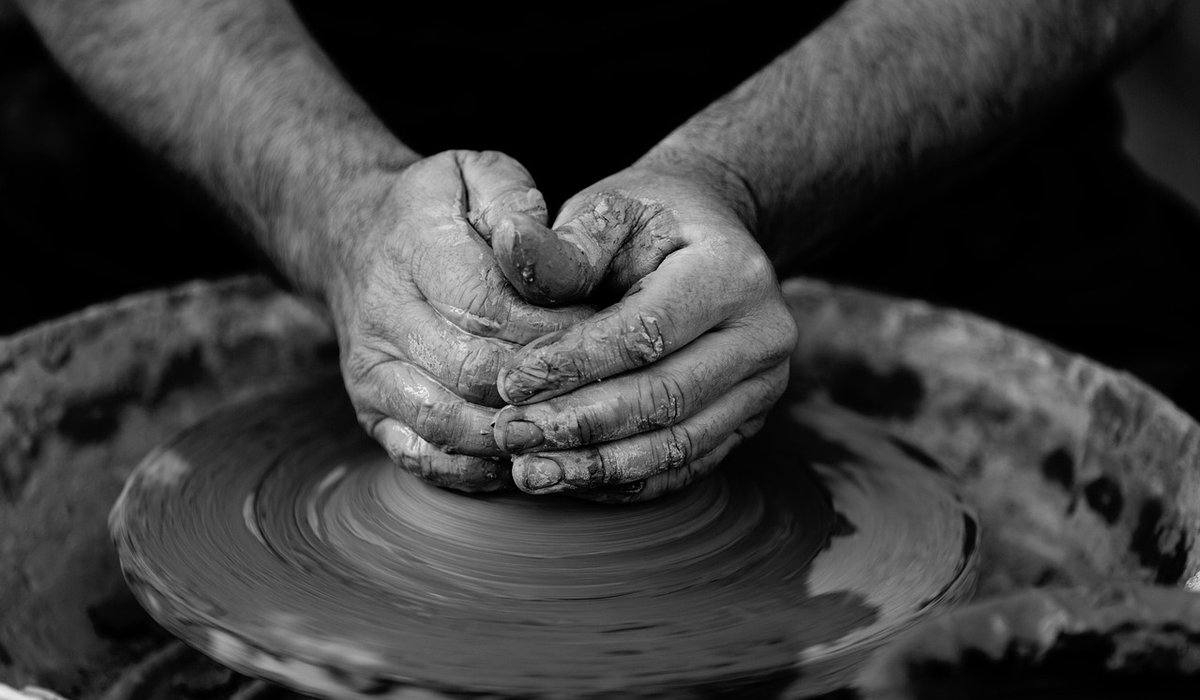
Wedging is the quiet, unglamorous part of pottery making, and it is also the part that saves your work. Whether you are throwing on the wheel, hand-building a slab, or pinching a small bowl, clay that has not been properly wedged will fight you. Trapped air pockets and uneven moisture create weak spots, cause the clay to wobble or collapse on the wheel, and — if you fire a piece with a stubborn pocket of air still inside it — can produce a small but dramatic explosion in the kiln.
Think of wedging as kneading bread, but with a different goal. With dough, you are developing gluten; with clay, you are homogenising the body. Wedging distributes moisture evenly, aligns the clay particles, softens stiff lumps, and works out the air bubbles that enter during recycling or pugging. A well-wedged ball of clay feels consistent all the way through and responds predictably under your hands. It is the difference between centring a pot in thirty seconds and wrestling with it for ten minutes.
Good wedging begins with a sensible surface and manageable amounts of clay. A plaster bat or a canvas-covered board is ideal, because both grip the clay slightly without sticking to it. If your board is slippery, the clay skids rather than compresses, and you will not achieve much.
Spiral wedging — sometimes called spiral kneading — is the method most UK throwing potters use because it suits the round balls of clay that sit on a wheel head. It works in a continuous, rhythmic motion, and once you have the pattern, it becomes quite hypnotic.
Begin with a ball of clay on your plaster bat. Place both hands on top and press down gently, then flatten the ball into a rough disc about 4cm thick. Now the rhythm begins:
The motion is a downward push with a rotation built in. The clay should travel through your hands in a spiral, ending up as a cone. Then, if you are throwing, knock the cone back into a ball by pressing it on the wheel head or the board. Aim for two to three minutes of steady work — longer if the clay is recycled or noticeably uneven.
Ram's head wedging is the method many potters learn first, and it produces excellent results for hand-building and for clay that has been sitting in a bag for a while. The name comes from the shape the clay takes: a kind of flat, forward-leaning head with a ridge running along it.
Start by pressing the clay into a rough wedge or pyramid shape. Then:
The key detail is the rolling and folding action. If you simply press the clay flat, you trap more air than you remove. Let the clay roll forward, then fold it back on itself, so any air is forced out through the sides rather than buried in the centre.
You will know the clay is properly wedged when it feels uniformly soft and slightly springy, with no hard patches and no cold, damp spots. Cut the ball in half with your wire and look at the cross-section. A well-wedged clay shows a smooth, even texture, with no visible air holes and no swirls of different moisture. Air bubbles look like small dark pinpricks or shiny cavities; if you spot them, keep going.
A few practical habits help enormously:
None of this takes long once it is part of your routine. Ten minutes of wedging at the start of a session will pay you back in cleaner throwing, fewer cracks, and pieces that come out of the kiln in one piece.


We are not gonna make spamming
