
The Clay & Glaze Notebook shares practical, down-to-earth guidance on pottery, ceramics and clay crafts for uk makers for readers across the UK.
- 0123456789
- Angle Bd Abdelmoumen & rue soumaya, Résidence
- [email protected]
The Clay & Glaze Notebook shares practical, down-to-earth guidance on pottery, ceramics and clay crafts for uk makers for readers across the UK.
 By Oliver Pemberton
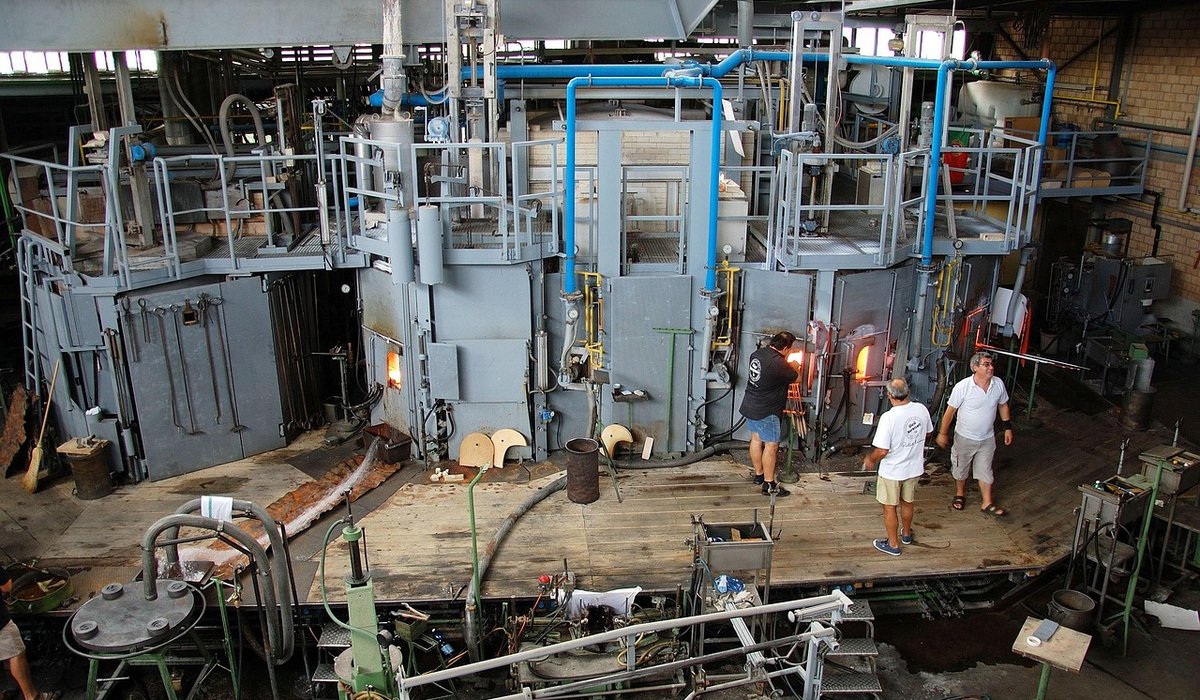
The best ventilation decision you will ever make is keeping clay dust out of your living space in the first place. A spare bedroom, garage, brick shed or conservatory all work, but aim for a room with a door you can shut — ideally one that does not open straight into the kitchen. Hard flooring is far easier to keep clean than carpet. If carpet is all you have, lay heavy-duty vinyl or rubber matting over the working area and be ruthless about mopping it. Anything that traps dust, from rugs to open shelving full of bone-dry pots, will make your life harder.
Think about temperature too. A cold, damp room slows drying and makes throwing miserable; a hot, dry one cracks your work before you have finished it. Stable and slightly cool beats extremes.
Light is the obvious reason to work near a window, and a good one — natural light shows the profile of a pot far better than a single overhead bulb. But position the wheel so the window sits to one side rather than directly in front of you, so you are not squinting into glare or sitting in a cold draught that dries rims as you throw. A bench under the window with the wheel pulled slightly to one side is a common, workable arrangement.
Where you generate dust matters more than where you sit. Dry trimming, sanding and cleaning are the high-dust activities, so keep those away from the wheel and as close to your extraction as possible. Set up a separate dry corner for sanding, or work outdoors when the weather allows. Wear an FFP3 mask for any of it.
A small room benefits from roughly ten air changes an hour. As a rough guide, a 3m x 3m x 2.4m room holds about 21 cubic metres of air, so you want a fan rated around 200–250 m³/h. A 100mm or 150mm wall-mounted or inline fan will usually get you there. Cheap bathroom fans often will not, and many are designed for intermittent use anyway.
Position the fan to pull air across the dust source and out — mounted high on the wall behind the bench, for example, with a window trickle vent or slightly open window on the opposite side to supply make-up air. Do not mount it directly above your head, pulling contaminated air through your breathing zone on its way out. Clean the blades and housing regularly, because a dusty fan loses efficiency fast. If you fire a kiln, treat it separately: kilns need dedicated ventilation for fumes and glaze volatiles, ideally in a garage or outbuilding with its own extraction.
Silica dust comes from dry clay, so the most effective strategy is stopping clay drying out in the first place. Wrap work in plastic, use a lidded damp box with a soaked sponge inside, and trim at leather-hard rather than bone dry. Slake scraps in a bucket of water instead of leaving them to crumble on the bench. A quick spray from a water bottle over the wheel and bench keeps fine particles settled. Never sand or dry-buff unfired clay, and wet-sand bisque whenever you can.
Dry sweeping simply lifts fine dust back into the air, where it can hang around for hours. A domestic vacuum cleaner is often worse: unless it is fitted with a proper H-class filter, the finest fraction tends to pass straight through and back into the room. Instead, mist surfaces with water first, then wipe with a damp cloth or mop with a bucket. Use a two-bucket system — one for rinsing, one for clean water — and change the water often. Mop the floor at the end of every session, and wipe the wheel head, tools and bench edges while you are at it.
Keep dedicated sponges, cloths and an apron in the studio, and do not carry them into the house. Change out of dusty overalls before you walk through the kitchen. Small habits like these do more for air quality than any single piece of equipment.
Clay sludge sets like cement in a drain, so never rinse tools or hands in the kitchen sink. Use a bucket of water for tools and a bowl for hands, or fit a proper clay trap if you have a studio sink. A simple settlement system — two or three lidded drums, or a bucket with a drilled pot inside — lets solids sink so you can pour off the clear water. Empty dried sludge into the bin or reclaim it for wedging. Lid everything, label it, and empty it regularly before it becomes the job you keep avoiding. A tidy studio is a safer, more pleasant one to spend time in.


We are not gonna make spamming
