
The Clay & Glaze Notebook shares practical, down-to-earth guidance on pottery, ceramics and clay crafts for uk makers for readers across the UK.
- 0123456789
- Angle Bd Abdelmoumen & rue soumaya, Résidence
- [email protected]
The Clay & Glaze Notebook shares practical, down-to-earth guidance on pottery, ceramics and clay crafts for uk makers for readers across the UK.
 By Harriet Kingsley
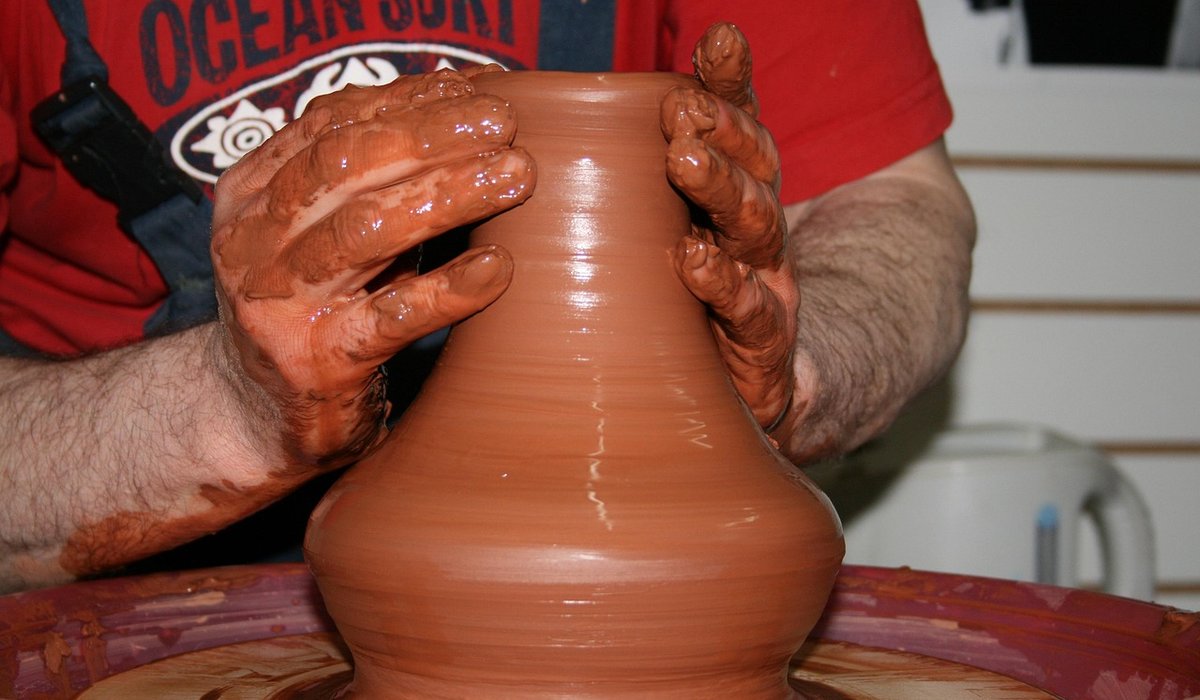
Trimming—or turning, as many UK potters still call it—is one of the most satisfying stages in pottery. But it only works if the clay is leather-hard. Wait until the clay holds a fingerprint. Press your thumb gently near the rim. The impression should stay crisp, without the wall flexing. If your fingerprint disappears, the bowl is too soft. If dust rises when you scratch it, you have missed the window. In a typical UK workshop, a thrown bowl reaches this stage in twelve to forty-eight hours, depending on humidity and wall thickness. On a damp day, cover it with a plastic bag and check every few hours. On a dry day, drape a cloth over it. Thin rims stiffen first, so test the base as well as the top. If the base still feels soft, wait.
Gather your kit before you touch the bowl:
Work on a clean wheel head. Turn the bowl upside down, rim resting on the wads or chuck. The base should face upwards. Start the wheel slowly. Watch the base spin; you want a single steady point in the middle. If it wobbles, stop and tap the bowl gently with a wooden tool handle while the wheel turns slowly. This is tap centring, and it is remarkably precise. Once the bowl runs true, press down very lightly on the centre. Do not force it. If it shifts, the support is wrong or the clay is still too soft. A well-centred bowl feels calm under your hands; an off-centre one fights back.
With the wheel at a moderate speed, hold your needle tool steady and mark a circle for the inside of the foot ring, then another for the outside. Using a sharp loop tool, remove clay from the centre of the base first, working outwards to the inner mark. Take shallow cuts, a few millimetres at a time. A steady hiss is good; a juddering chatter means you are cutting too fast or too deep. Then remove clay from outside the outer mark, again in shallow passes. The aim is to remove excess weight without weakening the base. Check thickness with a needle tool—leave around five to eight millimetres for a domestic bowl. Shape the foot ring with a gentle chamfer on both edges, then smooth it with a damp sponge or rib. If the rim starts to dry, cover it with a damp cloth while you work.
Trimming rarely goes perfectly first time. If the bowl wobbles, stop and recentre it. If the foot ring tears, the clay is too dry or your tool is blunt—sharpen it and take lighter cuts. If the base becomes too thin, paddle a small patch of soft clay onto the outside, or turn the bowl into a shallower dish. If the rim cracks, dampen it and press the crack together, then wrap the bowl tightly. Avoid over-wetting: too much water softens leather-hard clay and undoes your work. If the bowl is already too dry, wrap it in a damp towel for an hour, but be cautious—clay can rehydrate unevenly and crack. Most problems come from rushing. Slow the wheel, take lighter cuts, and keep your tools sharp. Save trimmings in a bucket; once dry, they can be wedged back into fresh clay.
Once the foot ring is cut, smooth the base with a sponge or rib and check the rim for sharp edges. A lightly dampened finger run around the rim will soften it without distorting the shape. If you have trimmed deeply, cover the bowl loosely with plastic and leave it for a day. This lets moisture equalise between the thin foot and the thicker walls, reducing the risk of cracking. Then let it dry slowly to bone dry, ideally under loose newspaper or an upside-down bucket, away from radiators and draughts. A bowl that dries too quickly will warp or crack. Turning a leather-hard bowl is not just about a neat foot ring. It is about giving the pot balance, proportion and a sense of purpose. Get the timing right, centre carefully, and take gentle cuts—the bowl will thank you for it.


We are not gonna make spamming
